Originally from: https://www.wpblog.com/automate-wordpress-with-zapier

Social networks (Weibo, Twitter, Facebook, etc.) play an indispensable role for content sites — they break through the boundary of your existing readership and push your content to a wider audience. Timing matters when sharing on social platforms. A solid social media strategy ensures the right content reaches the right audience and lifts user conversion.
In this article, I’ll use Facebook as an example to show how to automatically publish WordPress content to a social network using Zapier. After reading this, you should be able to apply the same approach to push your own site’s content to other social platforms.
Setting Up Zapier
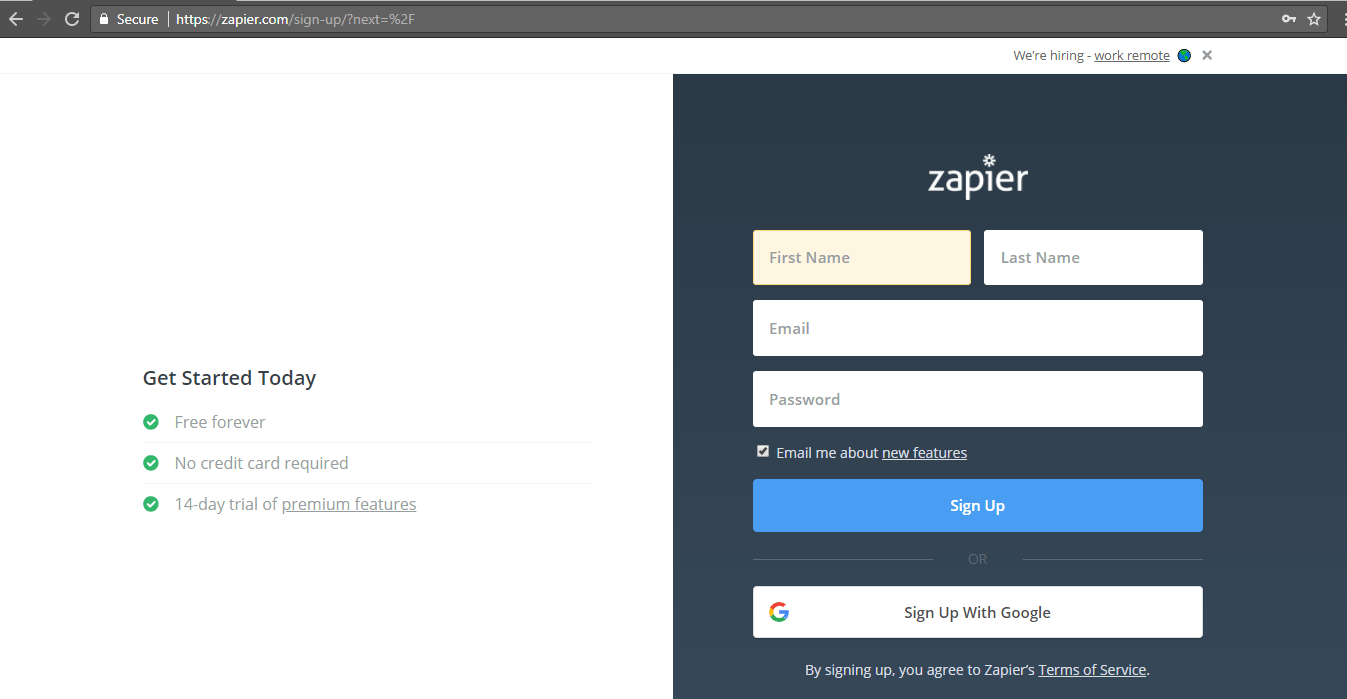
Head to Zapier and sign up — registration is straightforward.
After creating your account, you’ll land on a page showing Zapier’s full list of supported apps. You connect these apps together through configuration, and once connected, they form a workflow called a Zap.
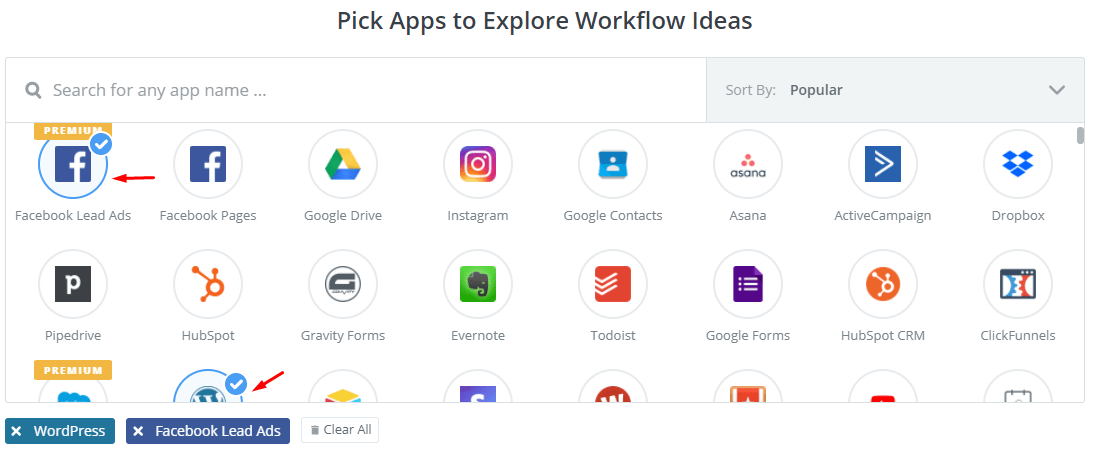
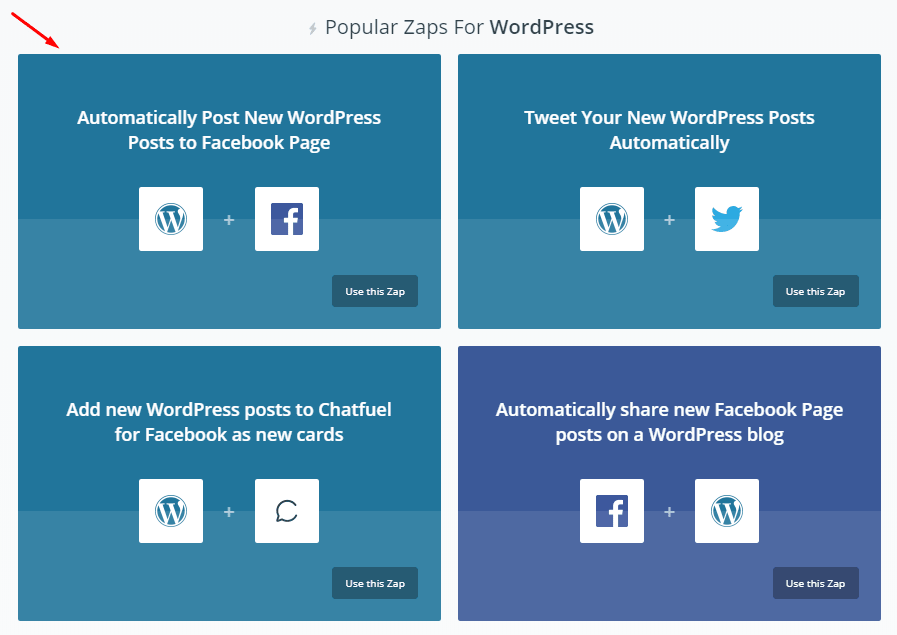
Our goal is to auto-publish WordPress posts to Facebook, so we need to find Facebook in the app list. Since this is a popular workflow, you can find a pre-built Zap that links WordPress with Facebook directly.
Creating the Zap
Our Zap only needs two apps: WordPress and Facebook. We already picked the Zap on the previous page; after selecting it, you’ll see the following:
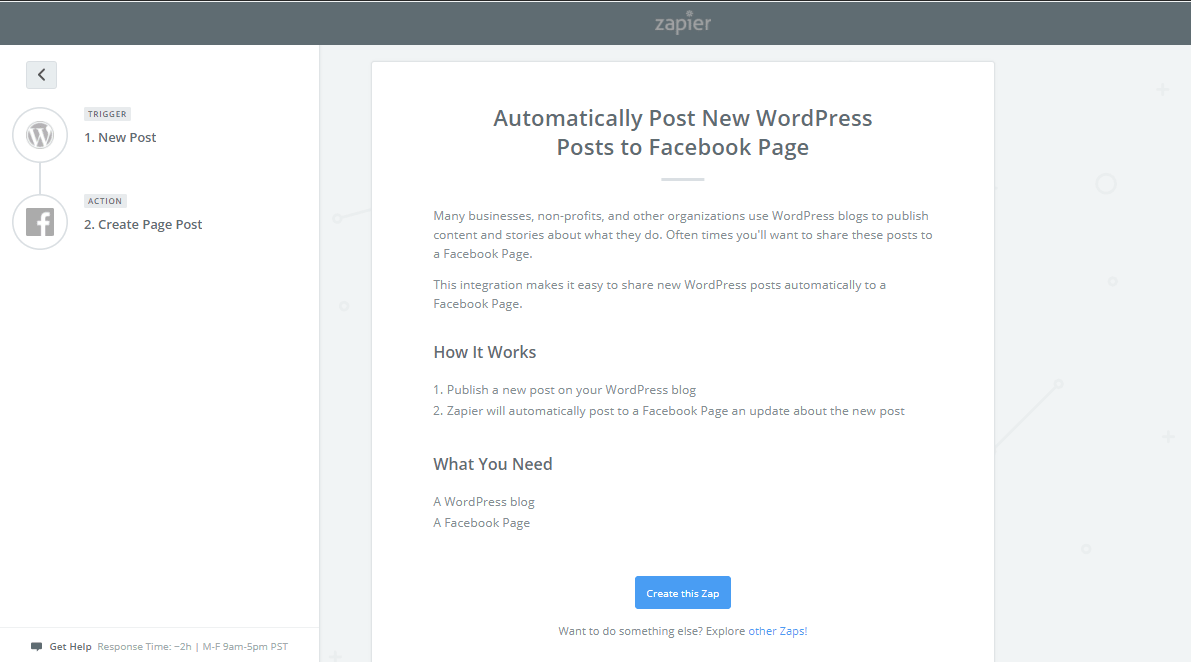
If you picked a different Zap (not the Facebook-sync one), it’s still worth reading the page’s description to confirm it matches your needs. Once you’re sure, click “Create this Zap” to initialize it.
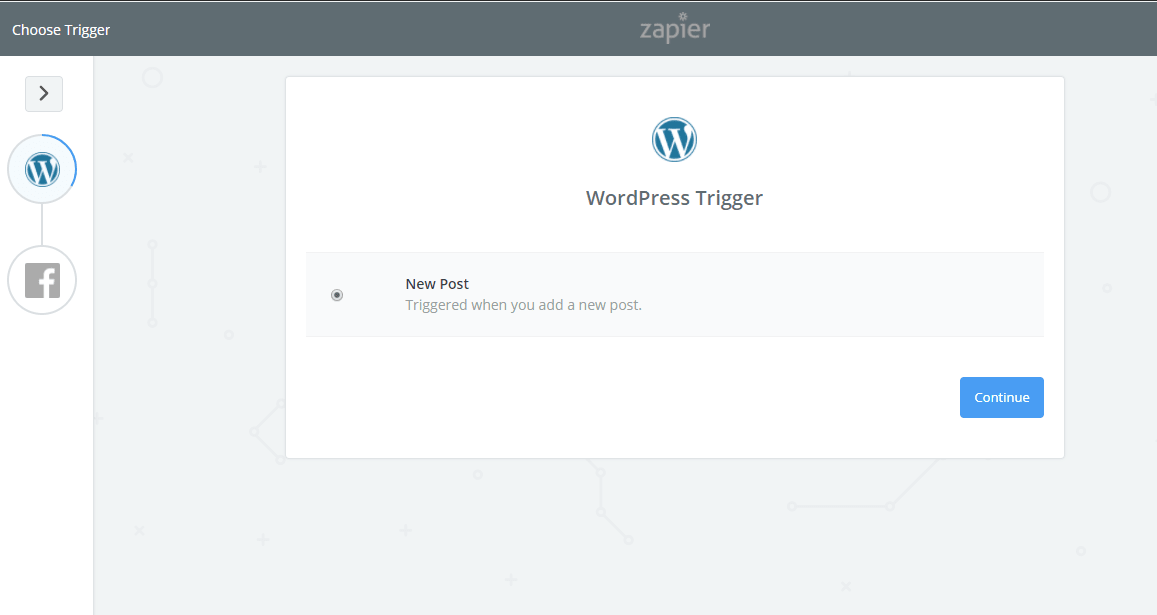
On the next page, choose the WordPress trigger — the screenshot below shows the “new published post” trigger — and click “Continue”.
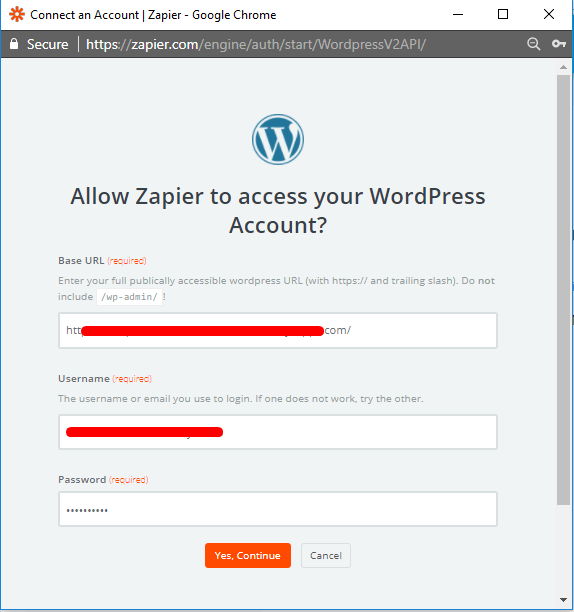
Next, you need to connect your WordPress site. Enter the full URL of your WordPress site (e.g., https://www.aips.me/) as shown below, then click “Success” to verify, which takes you to the page below. Fill in the fields as required, then click “Yes, Continue”.
In the next step, you choose the WordPress post status, post type, and any custom values.
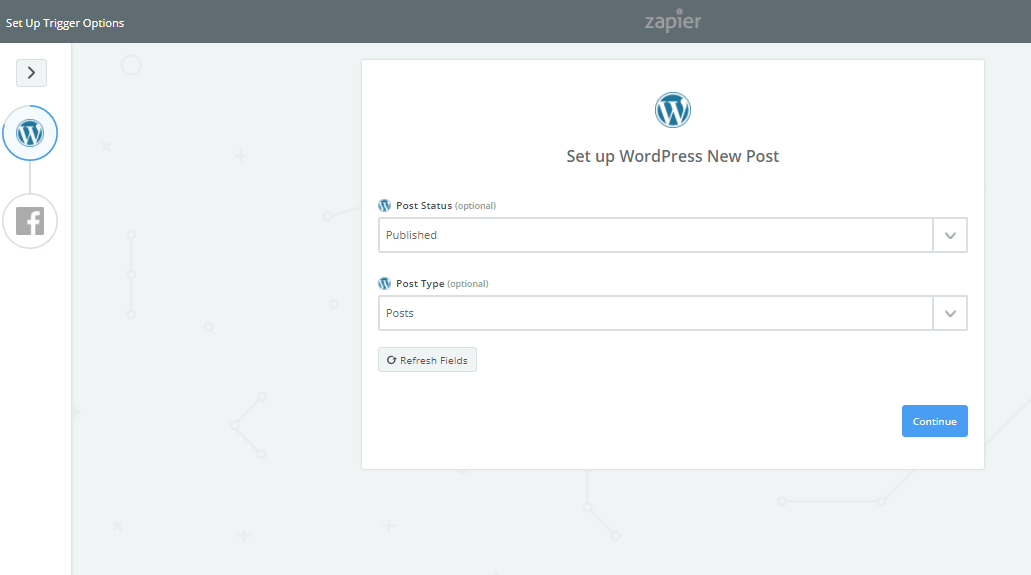
After making your selections, click “Continue” to finish this step.
Connecting Your Facebook Account
Authorize your Facebook account, then click “Continue”.
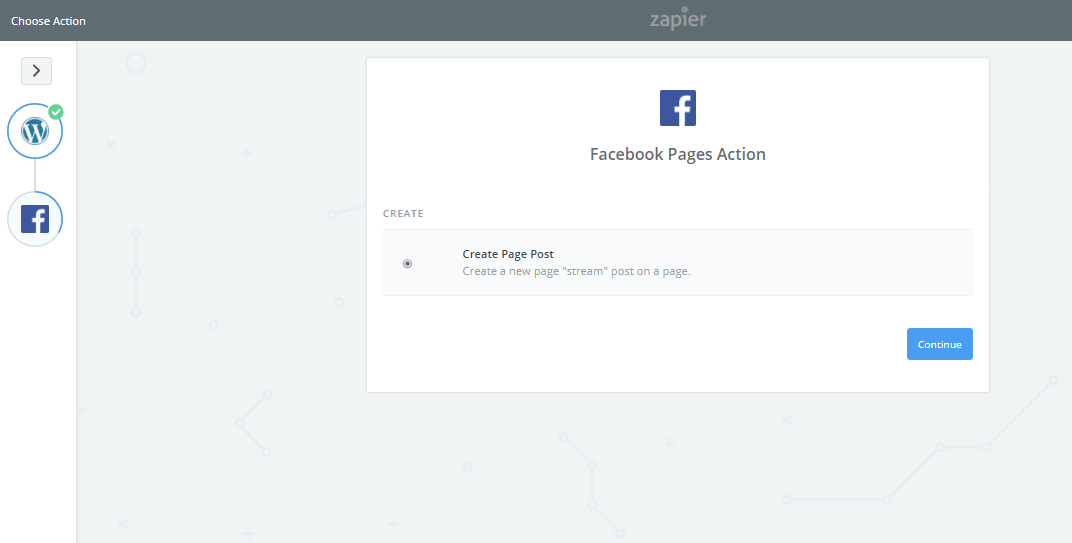
In the Facebook setup page, configure which fields you want to appear in the Facebook post — for example, title, description, images, etc.
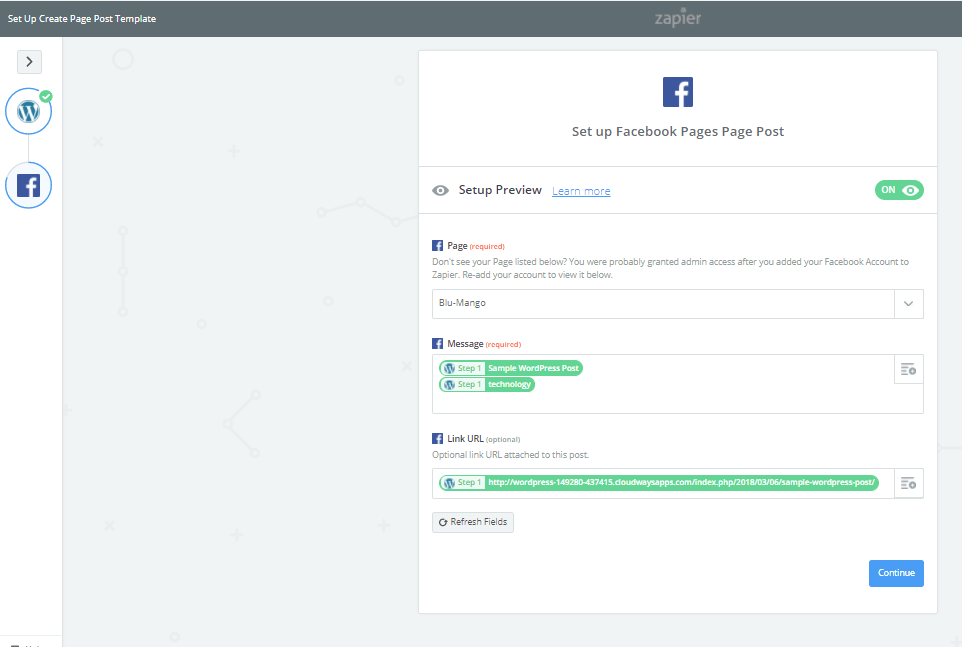
Here’s the setup I went with:
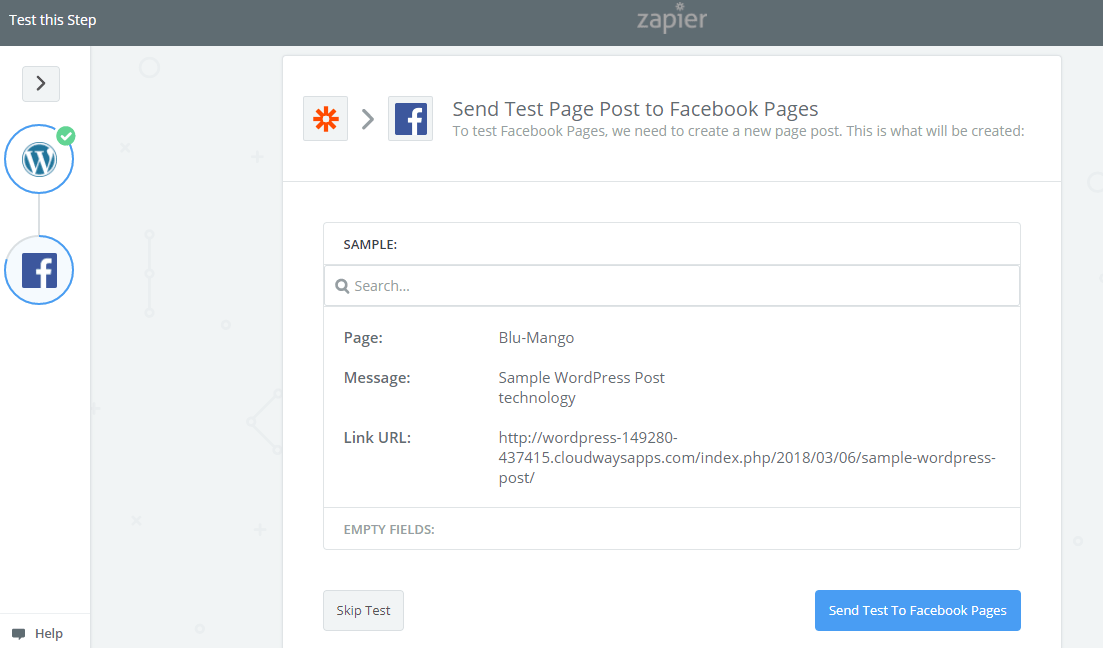
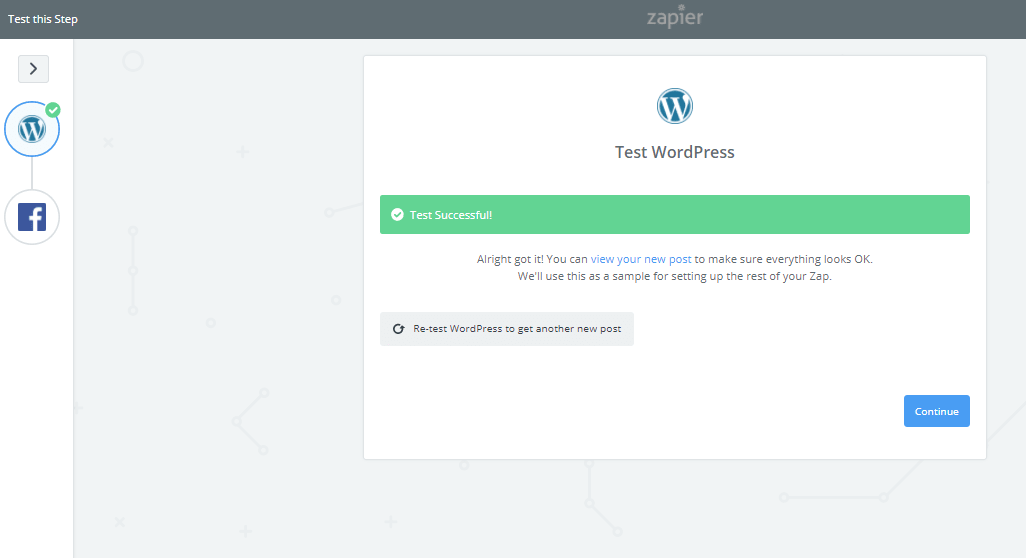
Now you can test the Zap. Click “Send To Facebook Pages” in the screenshot above, and the latest post from your WordPress site will be auto-published to your Facebook page.

That’s it — the workflow is now created. If you ever want to pause this Zap, you can freely enable or disable it from the Zapier dashboard. You can also follow the same approach to create other Zaps tailored to your own needs.
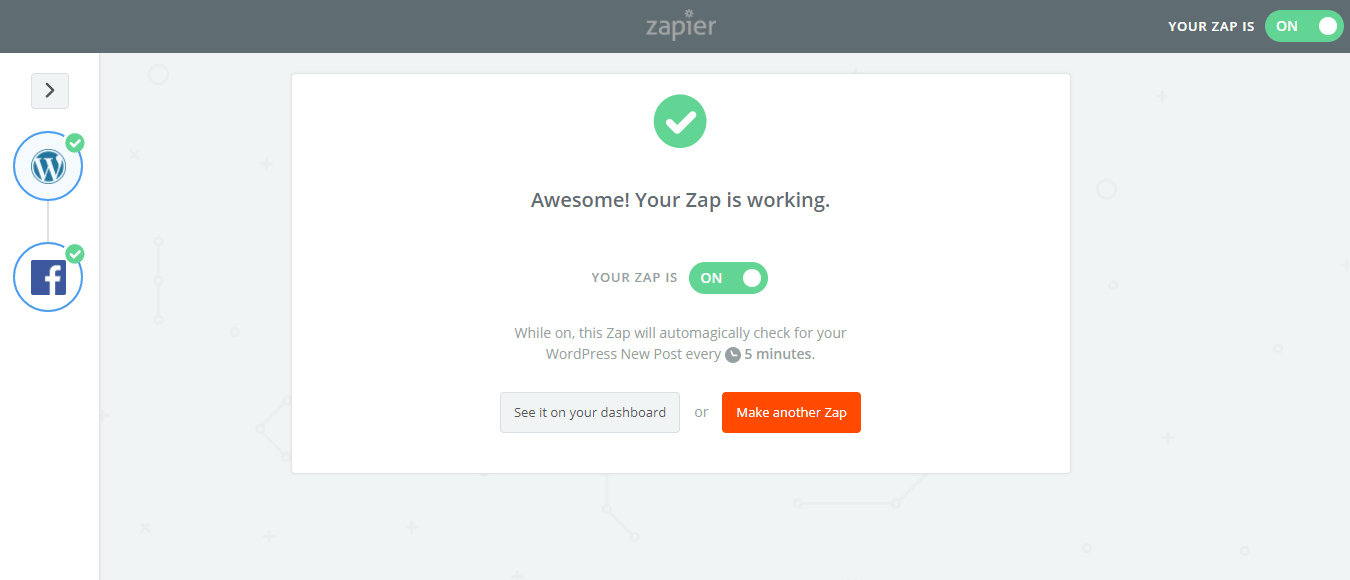
On Zapier’s free plan, the system checks your WordPress site for new posts every 15 minutes. Whenever it finds a new post, it automatically syncs it to Facebook according to the field mapping you configured.